Step-by-Step SendGrid Setup
Reliable Email Delivery for Alerts
Verify a sender, create a dedicated API key, then enter the SMTP settings in your SMARTBOOTH alert software. The diagrams below are illustrations; SendGrid dashboard labels may vary by account and product updates.
Sign in or create a SendGrid account
Use a work email account you can manage long term. Complete registration, email verification, and account security checks.
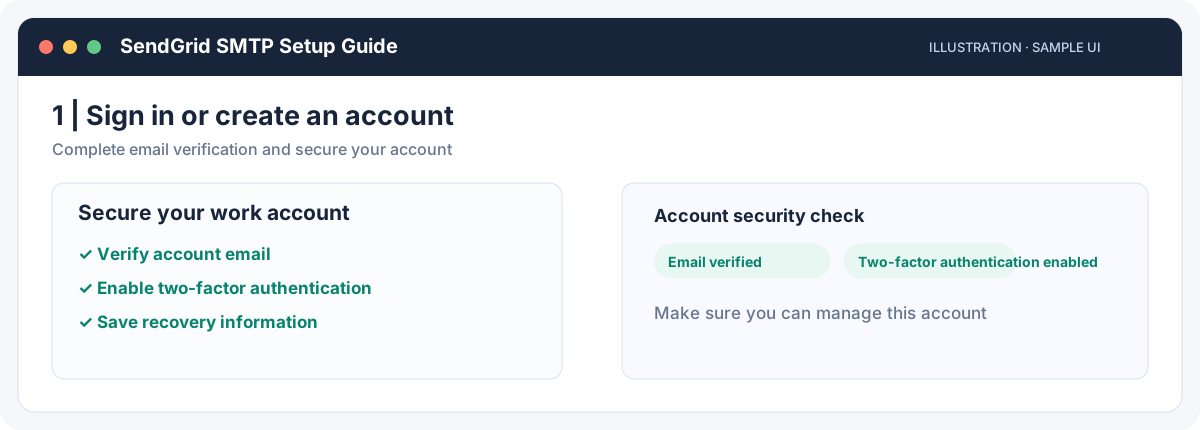
- Go to SendGrid signup page, or sign in to your existing account.
- Make sure you can access the account email. Enable two-factor authentication and save your recovery information.
- If asked about your use case or expected sending volume, provide accurate information.
Verify your sender identity
SendGrid may reject messages or restrict sender addresses until verification is complete.
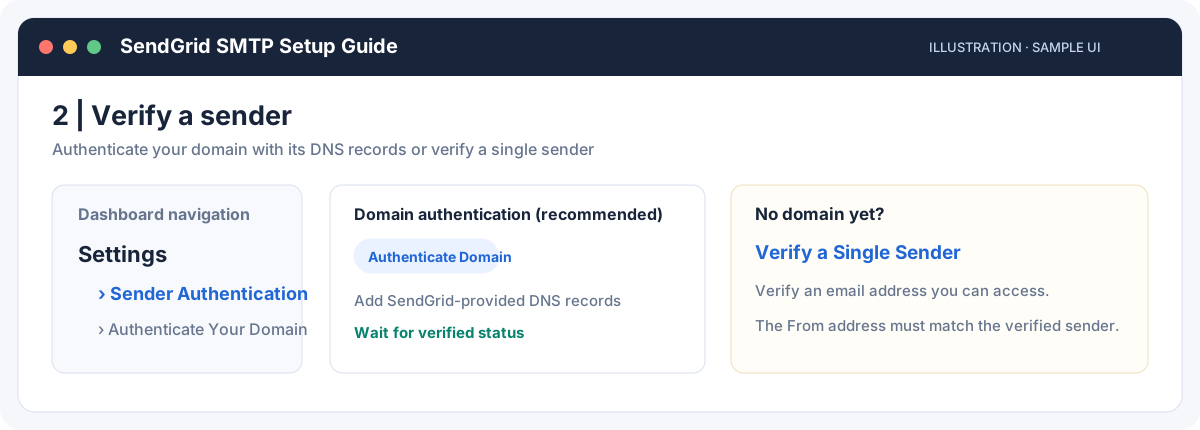
- In the dashboard, open Settings → Sender Authentication.
- If you own a domain, select Authenticate Your Domain, then add the DNS records shown by SendGrid to your domain DNS settings, then wait for verification to complete.
- If you do not have a domain yet, choose Verify a Single Sender, then enter your sender email and click the verification link you receive. Single Sender Verification is useful for testing; domain authentication is recommended for production.
- The Mail From you configure in your alert software must be a verified sender address you control.
Create a dedicated API key
This key is used as your SMTP password. Copy and store it securely when created; you usually cannot view the full key again later.
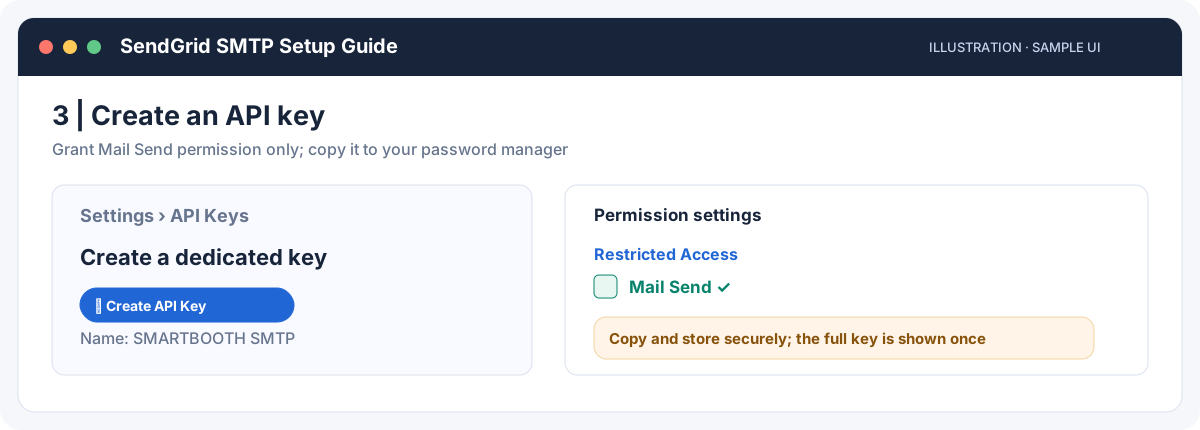
- Go to Settings → API Keys → Create API Key.
- Use a name such as SMARTBOOTH SMTP to make it easy to identify and revoke later.
- For permissions, select Restricted Access and enable only Mail Send. If your account does not offer this permission option, choose from the options available in your SendGrid dashboard.
- After creating the key, copy the full API key and store it in a password manager. Never paste it into a webpage, public code, screenshot, or email.
Enter the SMARTBOOTH SMTP settings
Enter the values below in your alert software’s SMTP settings. Field names may vary slightly by product version.
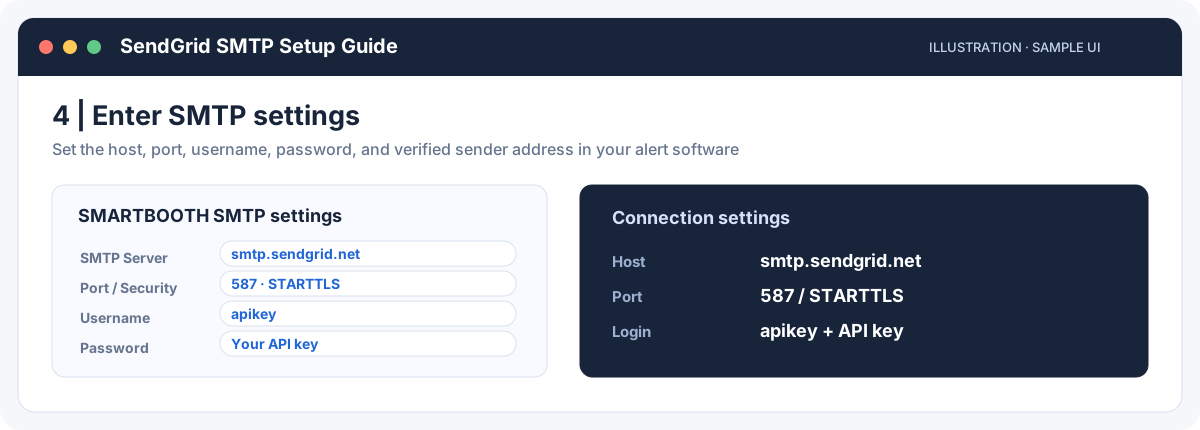
| SMTP server / host | smtp.sendgrid.net |
|---|---|
| Port | 587(Recommended, STARTTLS) |
| Security / encryption | STARTTLS or TLS (if available in your software) |
| Username | apikey(fixed value; use lowercase) |
| Password | The full SendGrid API key you just created |
| Sender address / Mail From | The sender address verified in Step 2 |
Send a test email and check the result
Send a test email from SMARTBOOTH, then check the inbox and SendGrid activity log.
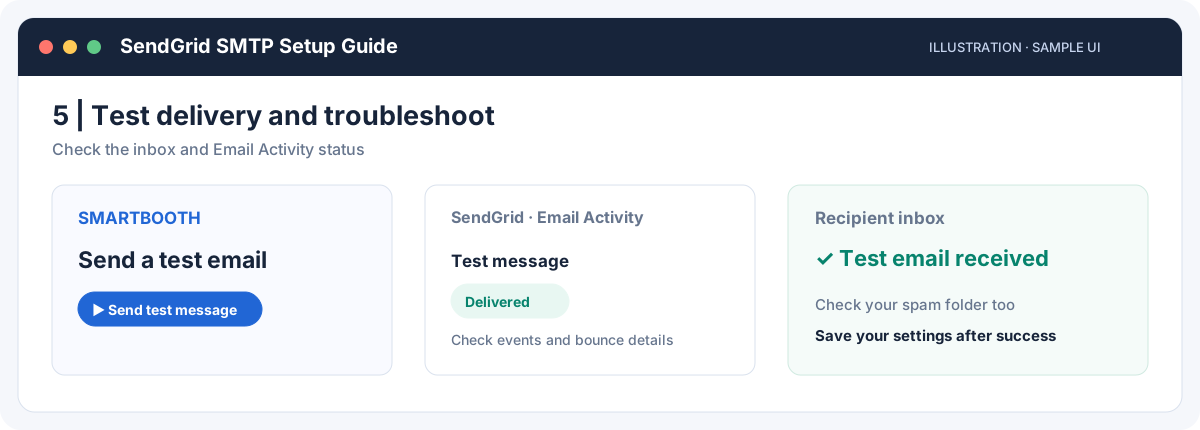
- Use a test recipient inbox you can check right away.
- Confirm the sender address is verified and check the spam folder.
- In SendGrid, open Email Activity to review delivery, bounce, or block events (availability depends on your plan).
| Issue | What to check |
|---|---|
| Authentication failed / 535 | Username must be apikey. The password must be the complete, valid API key, and the key must have Mail Send permission. |
| Sender identity error | Check whether Mail From has completed Single Sender or domain verification, and whether the sender address is spelled correctly. |
| Connection timeout | Check that the host is smtp.sendgrid.net, and that port 587 is reachable and not blocked by a firewall. |
| Accepted but not received | Check Email Activity, the spam folder, bounce status, and recipient-side quarantine or block rules. |
Setup complete: save and review periodically
Use a revocable API key with minimal permissions. Rotate credentials when staff or systems change, and remove keys you no longer use.
SMTP Server : smtp.sendgrid.net
Port        : 587 (STARTTLS)
Username    : apikey
Password    : [Your SendGrid API key]
Mail From   : [Verified sender address]
SMARTBOOTH / SMS4mail · SendGrid SMTP Guide · SendGrid dashboard labels may change over time